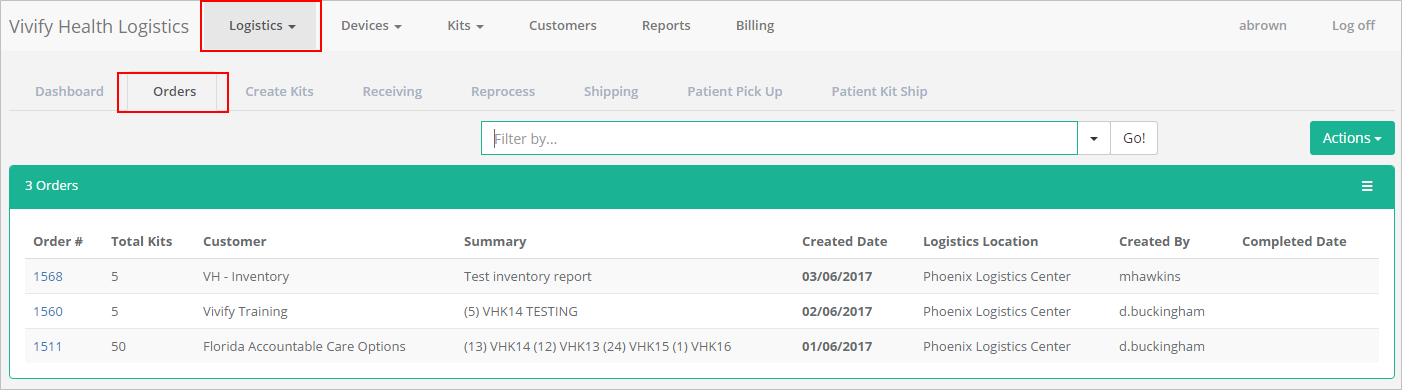
Shipping VHM Stored Kits
- The 3PL vendor receives a shipping order on the Orders page of the Logistics Portal.
- After receiving the order:
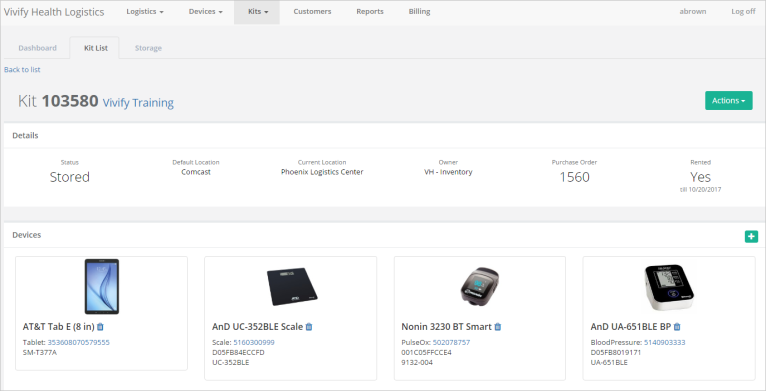
- Select the Kits > Kit List tab.
- In the Filter by box, type the kit number, and then click Go.
- Click the kit number.
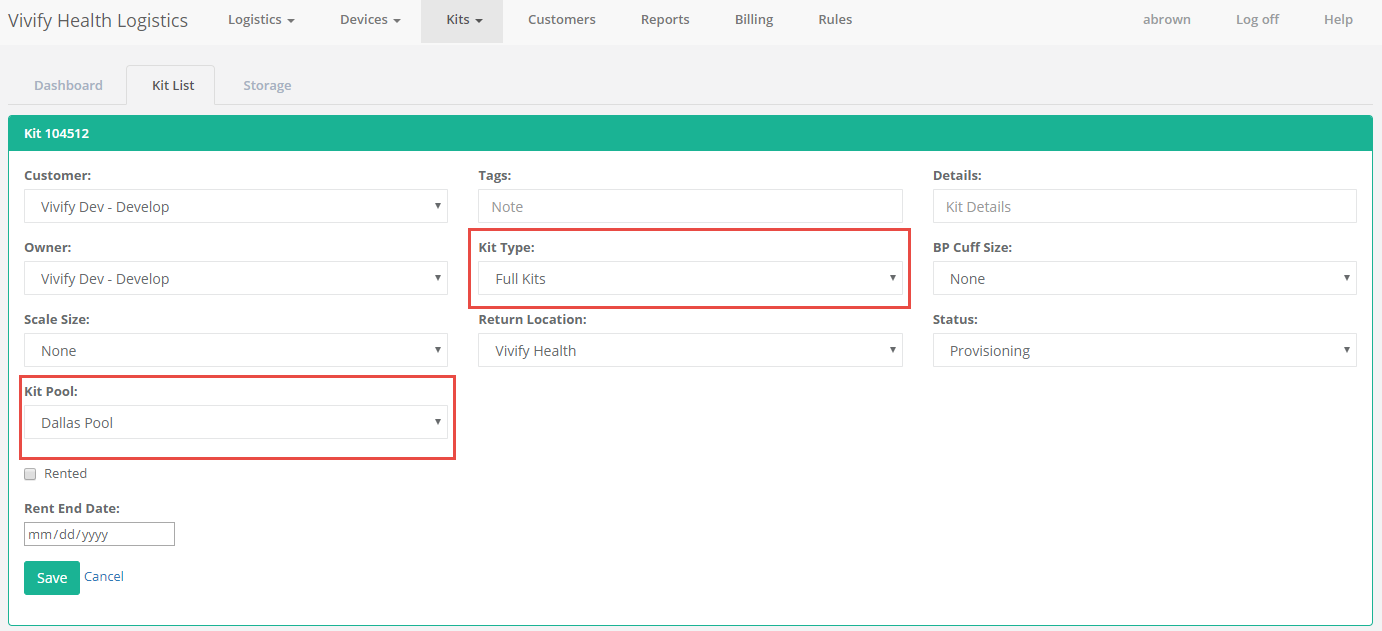
The kit details page appears.
- Click Actions and then Edit Kit to change the Customer for the kit(s) you are pulling from storage and preparing to ship.
- From the Customer list, select the customer to whom you are shipping the kit, as in the following example.
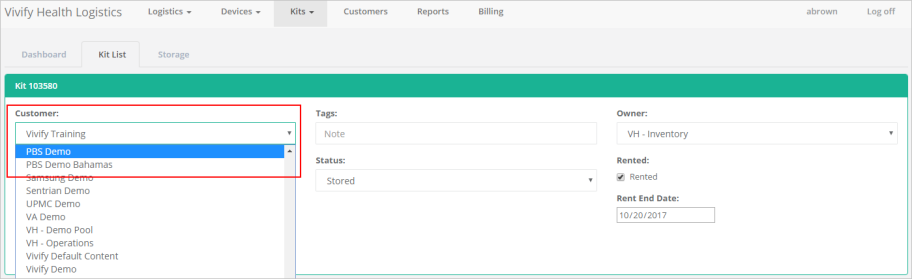
- Click Save (hidden under the menu in the graphic above).
- Turn on the tablet(s), press and hold the gear icon, input the Settings password (9729), and select Kit Pairing, as illustrated in
The following screen displays.
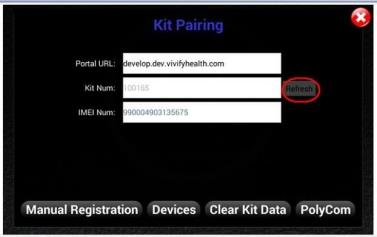
- Tap Refresh.
- Verify that the Kit Type and Kit Pool are correct.
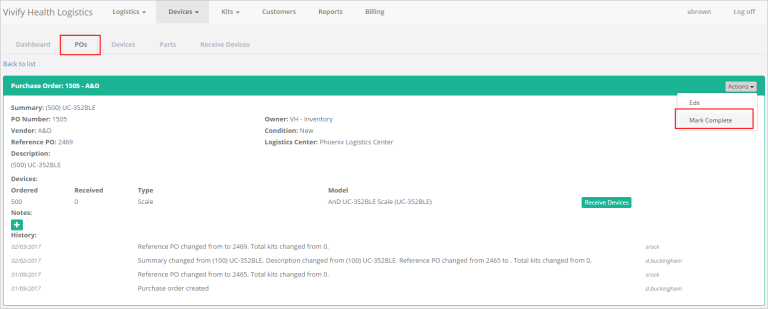
- Note the kit number and in the Actions menu, click Mark Complete.
Ship Direct to Patient
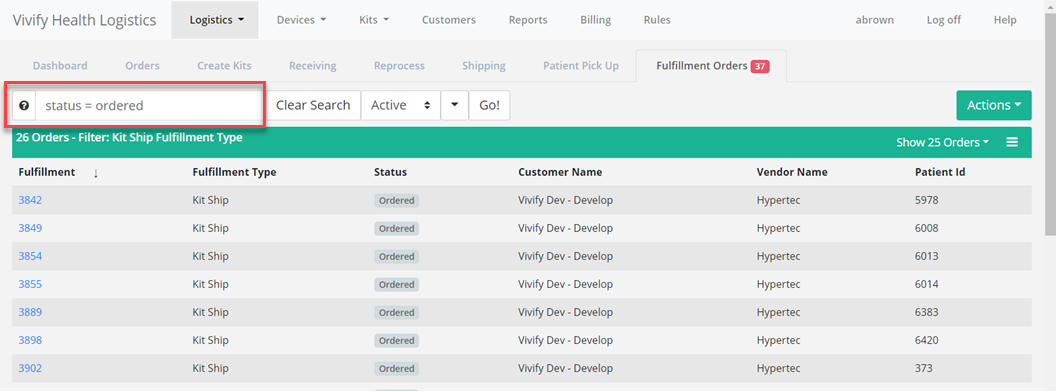
- In the menu, click Logistics > Fulfillment Orders or click the Fulfillment Orders tab.
The Fulfillment Orders page appears.
- In the Search box, search for the kit by Kit ID number, Status, or other identifying information. For more information about search options, see Searching, Filtering, and Sorting on the Fulfillment Orders List page.
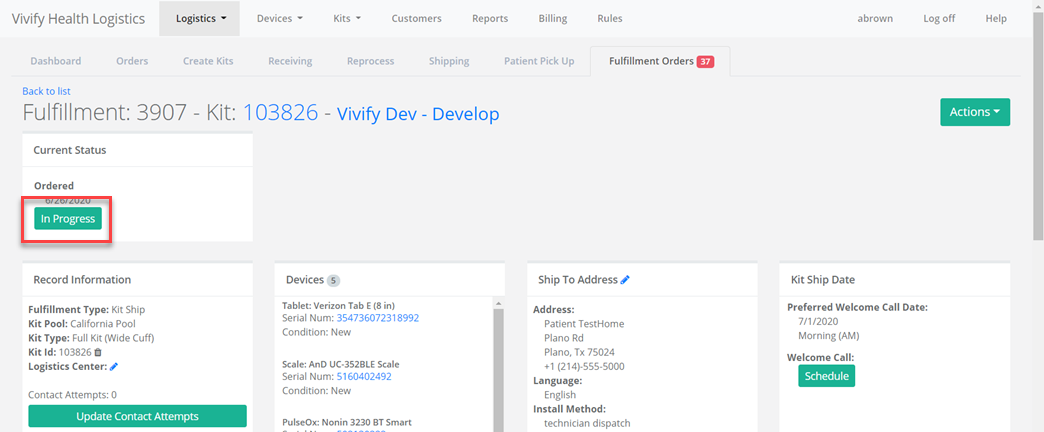
- In the Fulfillment list, click the number to open the Fulfillment Detail page.
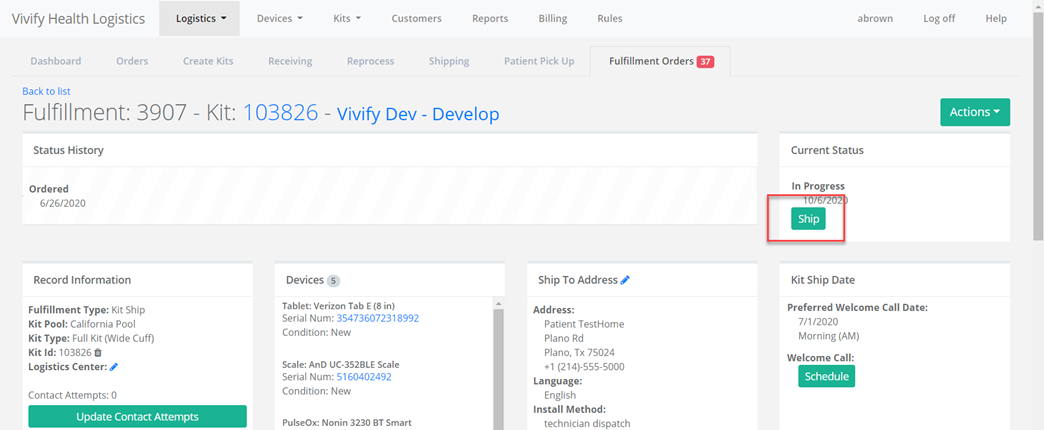
The Fulfillment Details page appears.
- In the Current status area, click In Progress.
- Verify the Welcome video plays.
- Verify all batteries are in the devices.
- Verify the tablet charge is at least 50 percent.
Verify the cellular connection.
- Verify the Welcome video plays.
- In the Current Status area, click Ship.
The Ship Kit page opens in the Shipping tab.
- Verify the shipping information for the kit. In the Tracking Number and Return Tracking Number boxes, type tracking numbers for the kit. A carrier list is available on both the Kit and Fulfillment Shipping pages. The default carrier will appear as the first option in the list. For example, for US postal codes, the default carrier in the list will appear as FedEx for both outbound and return tracking numbers. If a Canadian postal code is applied, then the carrier list default displays Purolator for both carriers. When typing the outbound tracking number, pressing ENTER switches the focus to the return tracking to maintain the workflow. The address cards on the records display the carrier and allow it to be changed.
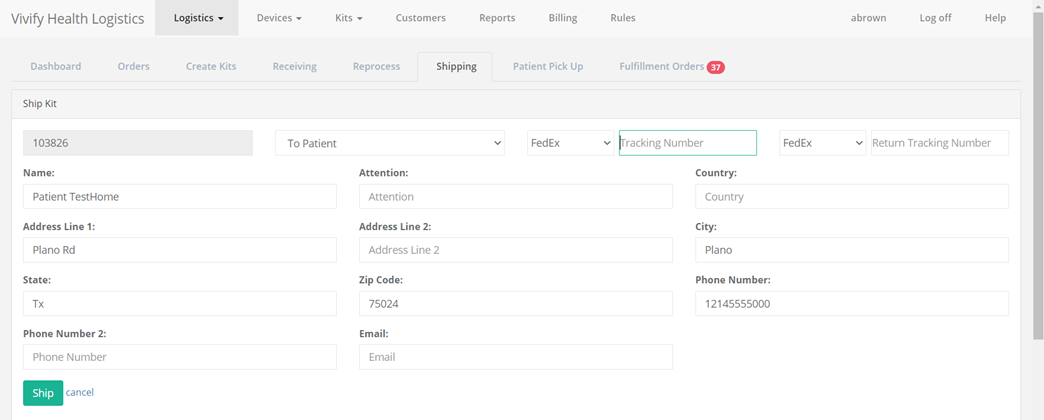
- Click Ship.
A confirmation message appears. The kit status is automatically changed to Shipped and it appears on the Fulfillment Orders page.
 Yes
Yes  No
No